Top Attractions to Visit in India with Your e-Visa: A Comprehensive Guide
India is a beautiful and culturally rich country that attracts millions of tourists every year. However, if you are planning to visit India, you need to apply for an e-Visa to enter the country. The process of applying for an India e-Visa is relatively straightforward, but it can be confusing if you have never applied for one before. In this article, we will provide you with a step-by-step guide on how to apply for an India e-Visa.
Step 1: Determine Your Eligibility

The first step in the e-Visa application process is to determine your eligibility. India offers e-Visas for several purposes, including tourism, business, medical treatment, and visiting friends and family. You need to select the right type of visa that matches your travel purpose. Each type of e-Visa has specific requirements and conditions, so make sure you read the eligibility criteria carefully before applying.
Step 2: Gather the Required Documents
After determining your eligibility, the next step is to gather the required documents for your India e-Visa application. The necessary documents include:
- A passport with at least six months of validity and two blank pages.
- A recent passport-sized photograph that meets the Indian government’s specifications.
- A copy of your flight itinerary that shows your entry and exit dates from India.
- A copy of your hotel reservation or accommodation details in India.
- For business or medical visas, you may need to provide additional documents such as a letter from your employer or doctor.
- Make sure you have all the necessary documents before starting the application process.
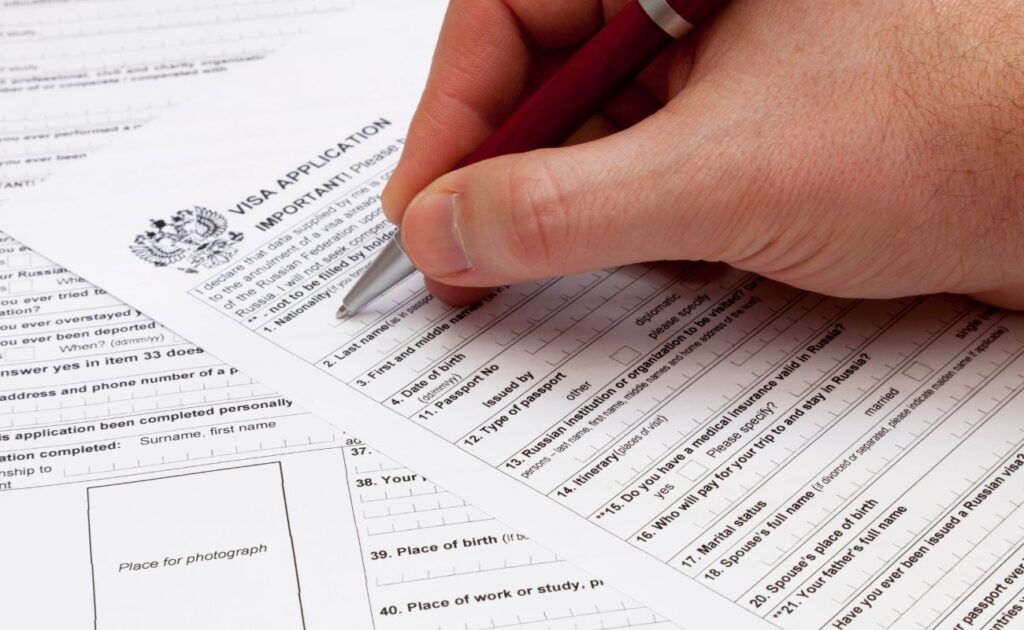
Step 3: Fill Out the Application Form

The next step is to fill out the India e-Visa application form. You can access the application form on the official Indian government e-Visa website. The application form requires you to provide your personal information, travel details, and upload your photograph and passport copy. Make sure you fill out the form accurately and completely. Any errors or omissions can delay your application or even lead to rejection.
Step 4: Pay the Application Fee

After submitting your application, you need to pay the India e-Visa application fee. The fee varies depending on the type of visa and the duration of your stay in India. You can pay the fee online using a credit or debit card. Make sure you keep a copy of the payment receipt for your records.
Step 5: Wait for the Processing
Once you have submitted your application and paid the fee, you will receive an email confirmation with your application reference number. The processing time for an India e-Visa is usually between 2 to 4 business days. However, it can take longer during peak travel seasons or if there are any issues with your application. You can check the status of your application on the official e-Visa website using your reference number.
Step 6: Receive Your e-Visa
Once your application is approved, you will receive your India e-Visa via email. Make sure you print a copy of the e-Visa and carry it with you during your trip to India. The e-Visa is valid for 60 days from the date of arrival in India, and you can stay in the country for a maximum of 90 days.
Tips for a Smooth e-Visa Application Process

- Apply for the e-Visa at least 4-5 days before your planned departure to India to allow for processing time.
- Make sure your passport has at least six months’ validity and two blank pages.
- Follow the Indian government’s photograph specifications carefully.
- Double-check your application form for accuracy and completeness before submitting it.
- Keep a copy of your payment receipt and application reference number for your records.
In conclusion, applying for an India e-Visa is a simple and straightforward process that can be completed online from the comfort of your own home. By following this step-by-step guide, you can ensure that you submit a complete and accurate application and receive your e-Visa in a timely manner. Remember to check the eligibility criteria, gather the necessary documents, fill out the application form accurately, pay the fee, and wait for the processing. With your India e-Visa in hand, you can enjoy all that this beautiful country has to offer.

